How to convert FLV to MP4 3GP MPG etc video files with moyea Flv to Video Converter?
Moyea FLV to Video Converter is currently the best tool to convert FLV files to regular video and audio files, including FLV to MP4, FLV to 3GP, FLV to MPG. The easy-to-use FLV converter also supports converting FLV to AVI, WMV, MPEG, MOV, DVD, VCD and MP3 output files types along with very efficient codecs, which enables the smooth playback of the converted files on your DVD, PC, Zune, iPod, PSP, cell phones and other portable devices. Try it now!
How to convert flv to mp4, flv to 3gp, flv to mpg etc video files step by step
Download FLV to Video Converter install and run it.
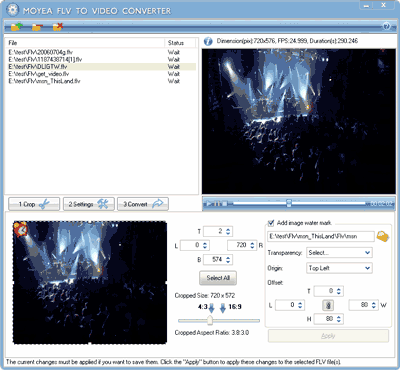
Add: Click  to add FLV file(s) to the program.
Del: Click  to delete the selected FLV file(s).
Del All: Click  to delete all the added FLV files.
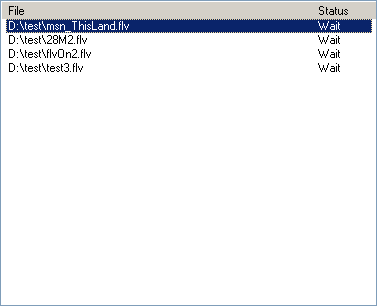
File: Shows the directory location of the added file(s) under “File”.
Status: Shows the status of each added file. If a file has just been added, its status will be “Wait”; If a file has been converted, its status will be “Successful”. If the operation is cancelled during the conversion, its status will be “Cancelled”. If the operation is skipped during the conversion, its status will be “Skipped”
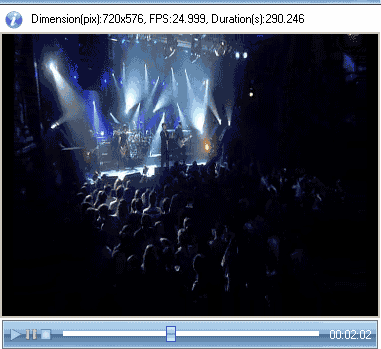
Preview Pane: The Preview pane lets you preview the selected file. Above this pane, you can see the simple information of the selected file. If you want to view the detailed information of selected file, you can just click the “Info” button and the detailed information of the selected file will appear in a transparent window.
Play: Click to play the selected file.
Stop: Click to stop playing the selected file.
Step2: Crop Video
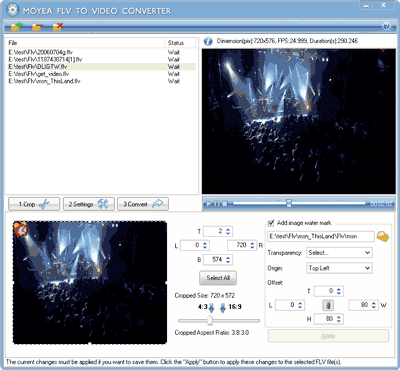
Click the  tab under the File pane to crop your file.
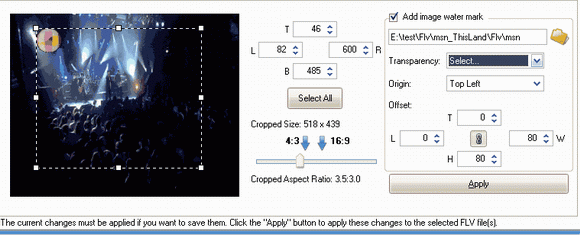
There are two methods to crop the video:
Drag the frame to crop the video.
Adjust the value of the four positions: Left, Right, Top and Bottom.
While cropping your video, you can refer to the “Cropped Size” and “Cropped Aspect Ratio” for the size and aspect ratio of the cropped video so you can crop the appropriate video for the conversion.
Select All: Click to go back to select the whole video.
Add image watermark: Check this option to add watermark to the video and edit it.
Browse: Click this button to add an image from your hard disc as the watermark.
Transparency: Select “None” if you don’t want to set any color to be transparent. Select “Select” and you will see the Transparency window popped up where you can do the transparency settings. See the figure below:
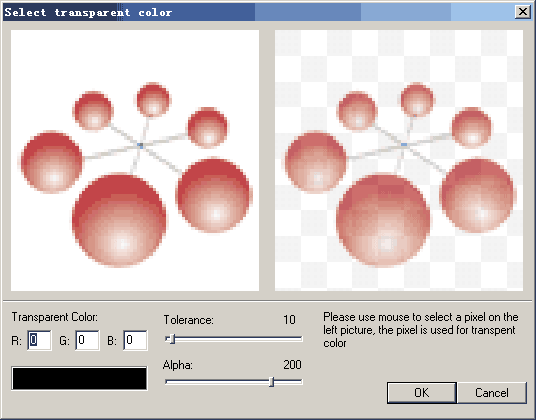
Clcik a palce on the left image with your mouse cursor to select the color you want to make transparent. The selected color will be shown lower left part of the window. You can also set the transparent color by setting the three color values (Red, Green and Black) and selecting the tolerance and alpha (transparency degree).
Origin: Click to open the drop-down menu to select the origin position for the added watermark.
Offset: Set the offset values of the watermark from the origin. You can more accurately and freely set the position of the watermark using this offset setting.
Original aspect ratio: The “hold down” status of this button keeps the original aspect ratio of the watermark image.
Apply: Click this button and the current watermark will be added to all the selected files with the same position on them.
Step3: Settings
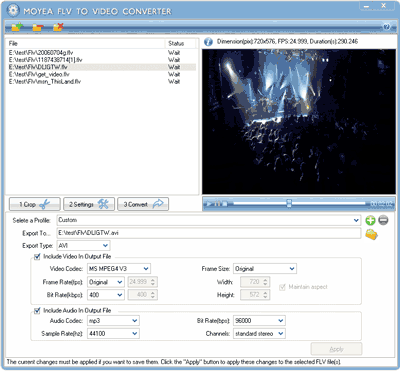
Click the  tab under the File pane to do some settings.
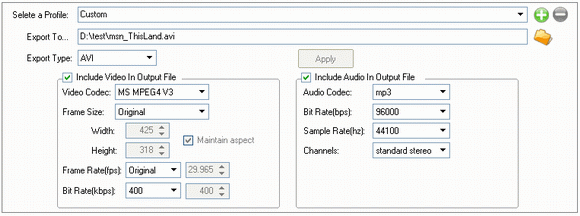

Select a profile: There are some preset profiles for your choice. These profiles are very useful since they are very common. Click the drop-down menu and select a profile you think that suits your requirements. If you don’t want to use a preset profile, you can just select Custom and make your own settings.
Add: Click to add the current settings as a profile so you won’t have to make the same setting again.
Del: Click to delete the current profile.
Export to: Click the Browse button to select a location on your hard disc to save the converted file(s).
Export type: Select the video type in which you want to export your FLV file(s).
Sub-type: Select the sub video type in which you want to export your FLV file(s).
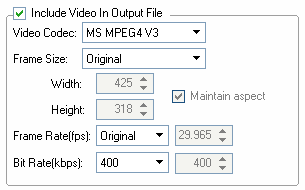
Include video in output file: Check this option to include video in the output file so when you play the output file, the video will be shown. And then you can make video settings.
Video codec: Select a video codec for the output file.
Frame size: Select a preset frame size or custom frame size for the output video. If you select Custom, you can set the frame size by setting the width and the height of the frame size. If you check the “Maintain aspect” option, the aspect ratio of the video will be kept as original and if you change the width (height), the height (width) will be automatically changed accordingly.
Frame Rate: Select a proper frame rate for your video.
Bit Rate: Select a proper bit rate for your video.
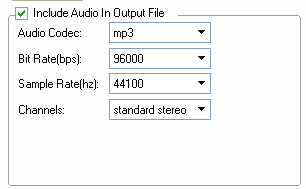
Include audio in output file: Check this option to include audio in the output file so when you play the output file, the audio will be played. And then you can make audio settings.
Audio codec: Select an audio codec for the output file.
Bit Rate: Select a proper bit rate for your audio.
Sample Rate: Select a proper sample rate for your audio.
Channel: Select an audio channel for your audio.
Apply: Click this button to apply the settings you have just made to all the selected files. There are several occasions regarding applying the settings to all the selected files. There are three different kinds of files: Files that have both audio and video, Video-only files and Audio-only files. If the selected file include different kinds of files, the program will just ignore the settings that cannot be applied.
Step4: Start to convert
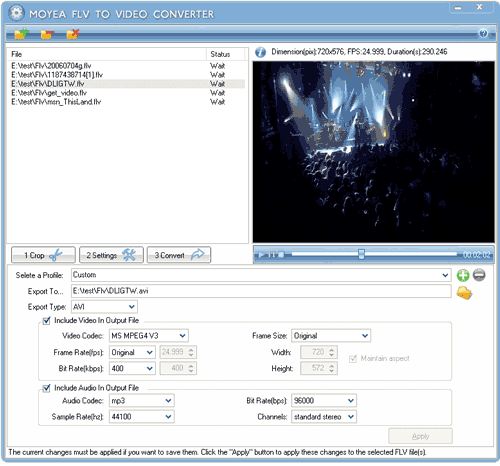
Click and the program will start converting your file(s). Wait a moment and the files will be created in the output folder you have specified.
